The readme file is your users’ first encounter with your repo. It should be able to explain what your product does, in short at first and then in more detail.
Besides that tagline, it should contain a few more items. So here’s a quick guide on what it needs to include to be useful for your users.
Badges
Badges are automated status indicators. It’s a self-serving buffet where your users get their information.
They can display:
- the current package version (npm, rubygems, composer, etc.)
- test or linter statuses (if the latest build passed tests and style checks)
- the code coverage
- project size
- downloads or usage information
- rating
- social indicators
- other bits of information
That can save you and your users a lot of time in finding the information they need.
You’ll find a good guide and links to badges on the awesome badges repo. However, be aware that too many badges might be information overload, and you might lose your users’ attention, so try to keep them between 5-8.

Logo, cover photo, and/or product screenshot
Every page needs a bit of color. Throwing a bunch of text there will make it look not very interesting, even for the most interested users. Adding your logo, a cover photo, or a screenshot of your product spices up things and keeps the user engaged. Especially a screenshot of your product.
Use a logo that looks good on both light and dark color schemes. If that’s not possible, add a white background or use the media="(prefers-color-scheme: dark)" on a different dark alternative of your logo.
You can use a cover image with a tagline and a screenshot of your product. This way, you’ll have fewer visual items on the screen.
Just play around and try to reach an equilibrium.
Tagline
As I said, the tagline is the first thing your users will look for. Try and keep that simple and refrain from going into specifics. For example, “Ruby on Rails application building framework” is much more understandable than “Modern, Hotwire-powered, self-contained, comprehensive, configuration-driven gem for Ruby on Rails.” There’s too much to unpack in that single sentence, and that’s not the goal of the tagline. The goal is to quickly orient your user and make them aware of what page they are on and why. You’ll have plenty of time to guide them through the specifics later.
Project description
The next item on your readme should be the project description. That should let the users know some details about your product. That is the place where you mention the intricacies of how and why it does things the way it does them that way. That is where you say it uses Hotwire or the latest version of Redux Query Toolkit, why it needs that jQuery dependency, or why you switched from Postgres to MariaDB.
At the end of this paragraph (or two or three), the users should know if they want to use it or not. Or at least if they need to dig into the implementation details or not.
Get started
Next, tell your users how to use it. Give them precise installation details or guide them to the page that tells them that.
In this section, you can show them where the docs are, what’s the marketing website, roadmap, demo app, Twitter account, discord community, and more related links.
Again, please keep it simple, and don’t add all your links. Give them the chance to find you on different channels too.
One thing I like to do here is to format this section as a list or use emojis to make them look like bullets for the list items.
Features
You might have a smaller or more extensive feature set depending on your product. That is where you can add another list of features (title and description). Most developers are visual learners and appreciate seeing a list of things your product can do rather than a big text block.
Under this section, I sometimes add a “Roadmap” section where I briefly talk about the next things I’m focusing on for the product.
Contributing guide
As an open-source product, you may want to let your users know how to contribute to your project. Let them know how to bring it to their machine (probably through git clone), and how to set it up locally. Have database install & migration assistance, pull in any development dependencies, add the commands they need to run to start the product in dev mode, and most importantly, test commands.
Ideally, they should be able to run two or three commands and have it running and have the tests passing on the first go. So it’s essential to make the setup process easy and tests passing on the first go. That leads to greater trust from your users.
Upgrade guide & release schedule
Let your users know how to navigate from one version to another and the release schedule.
The upgrade guide should let them know if they need to run any commands and if they should watch out for behavior in certain areas.
The release schedule should include the cadence and how you announce it (”we release on Tuesdays every two weeks”). Even if the cadence is not regular, you should specify that (“We don’t have a regular release cadence. After we merged your PR, please ping us to trigger a release”).
Contributors
Praise your contributors. They are making this product move forward. Say your Thank you’s and maybe add a list of them. There are a couple of ways to do that. We use contrib.rocks. They generate this cool image with all our contributors.
Sponsors
If you have any sponsors, they are the others that make this possible, so thank them too.
You might have different tiers of sponsorship that will add their logos on the readme or not.
License
GitHub has a special place for the license requirements on the repo homepage, so this is optional, but you could specify what type of license your users require to rub your product.
Code of conduct
Try and keep this a safe space for everyone to contribute and express themselves, so create a code of conduct.
Ruby’s code of conduct is a good starting point.
Misc
If you need to expand on any of these sections, you can. Add the title and link to a different page on your repo or documentation website.
Closing
Not all repos are the same, and some might have different needs, but this is a good starting point. After that, try and experiment as much as possible with other sections and wording.
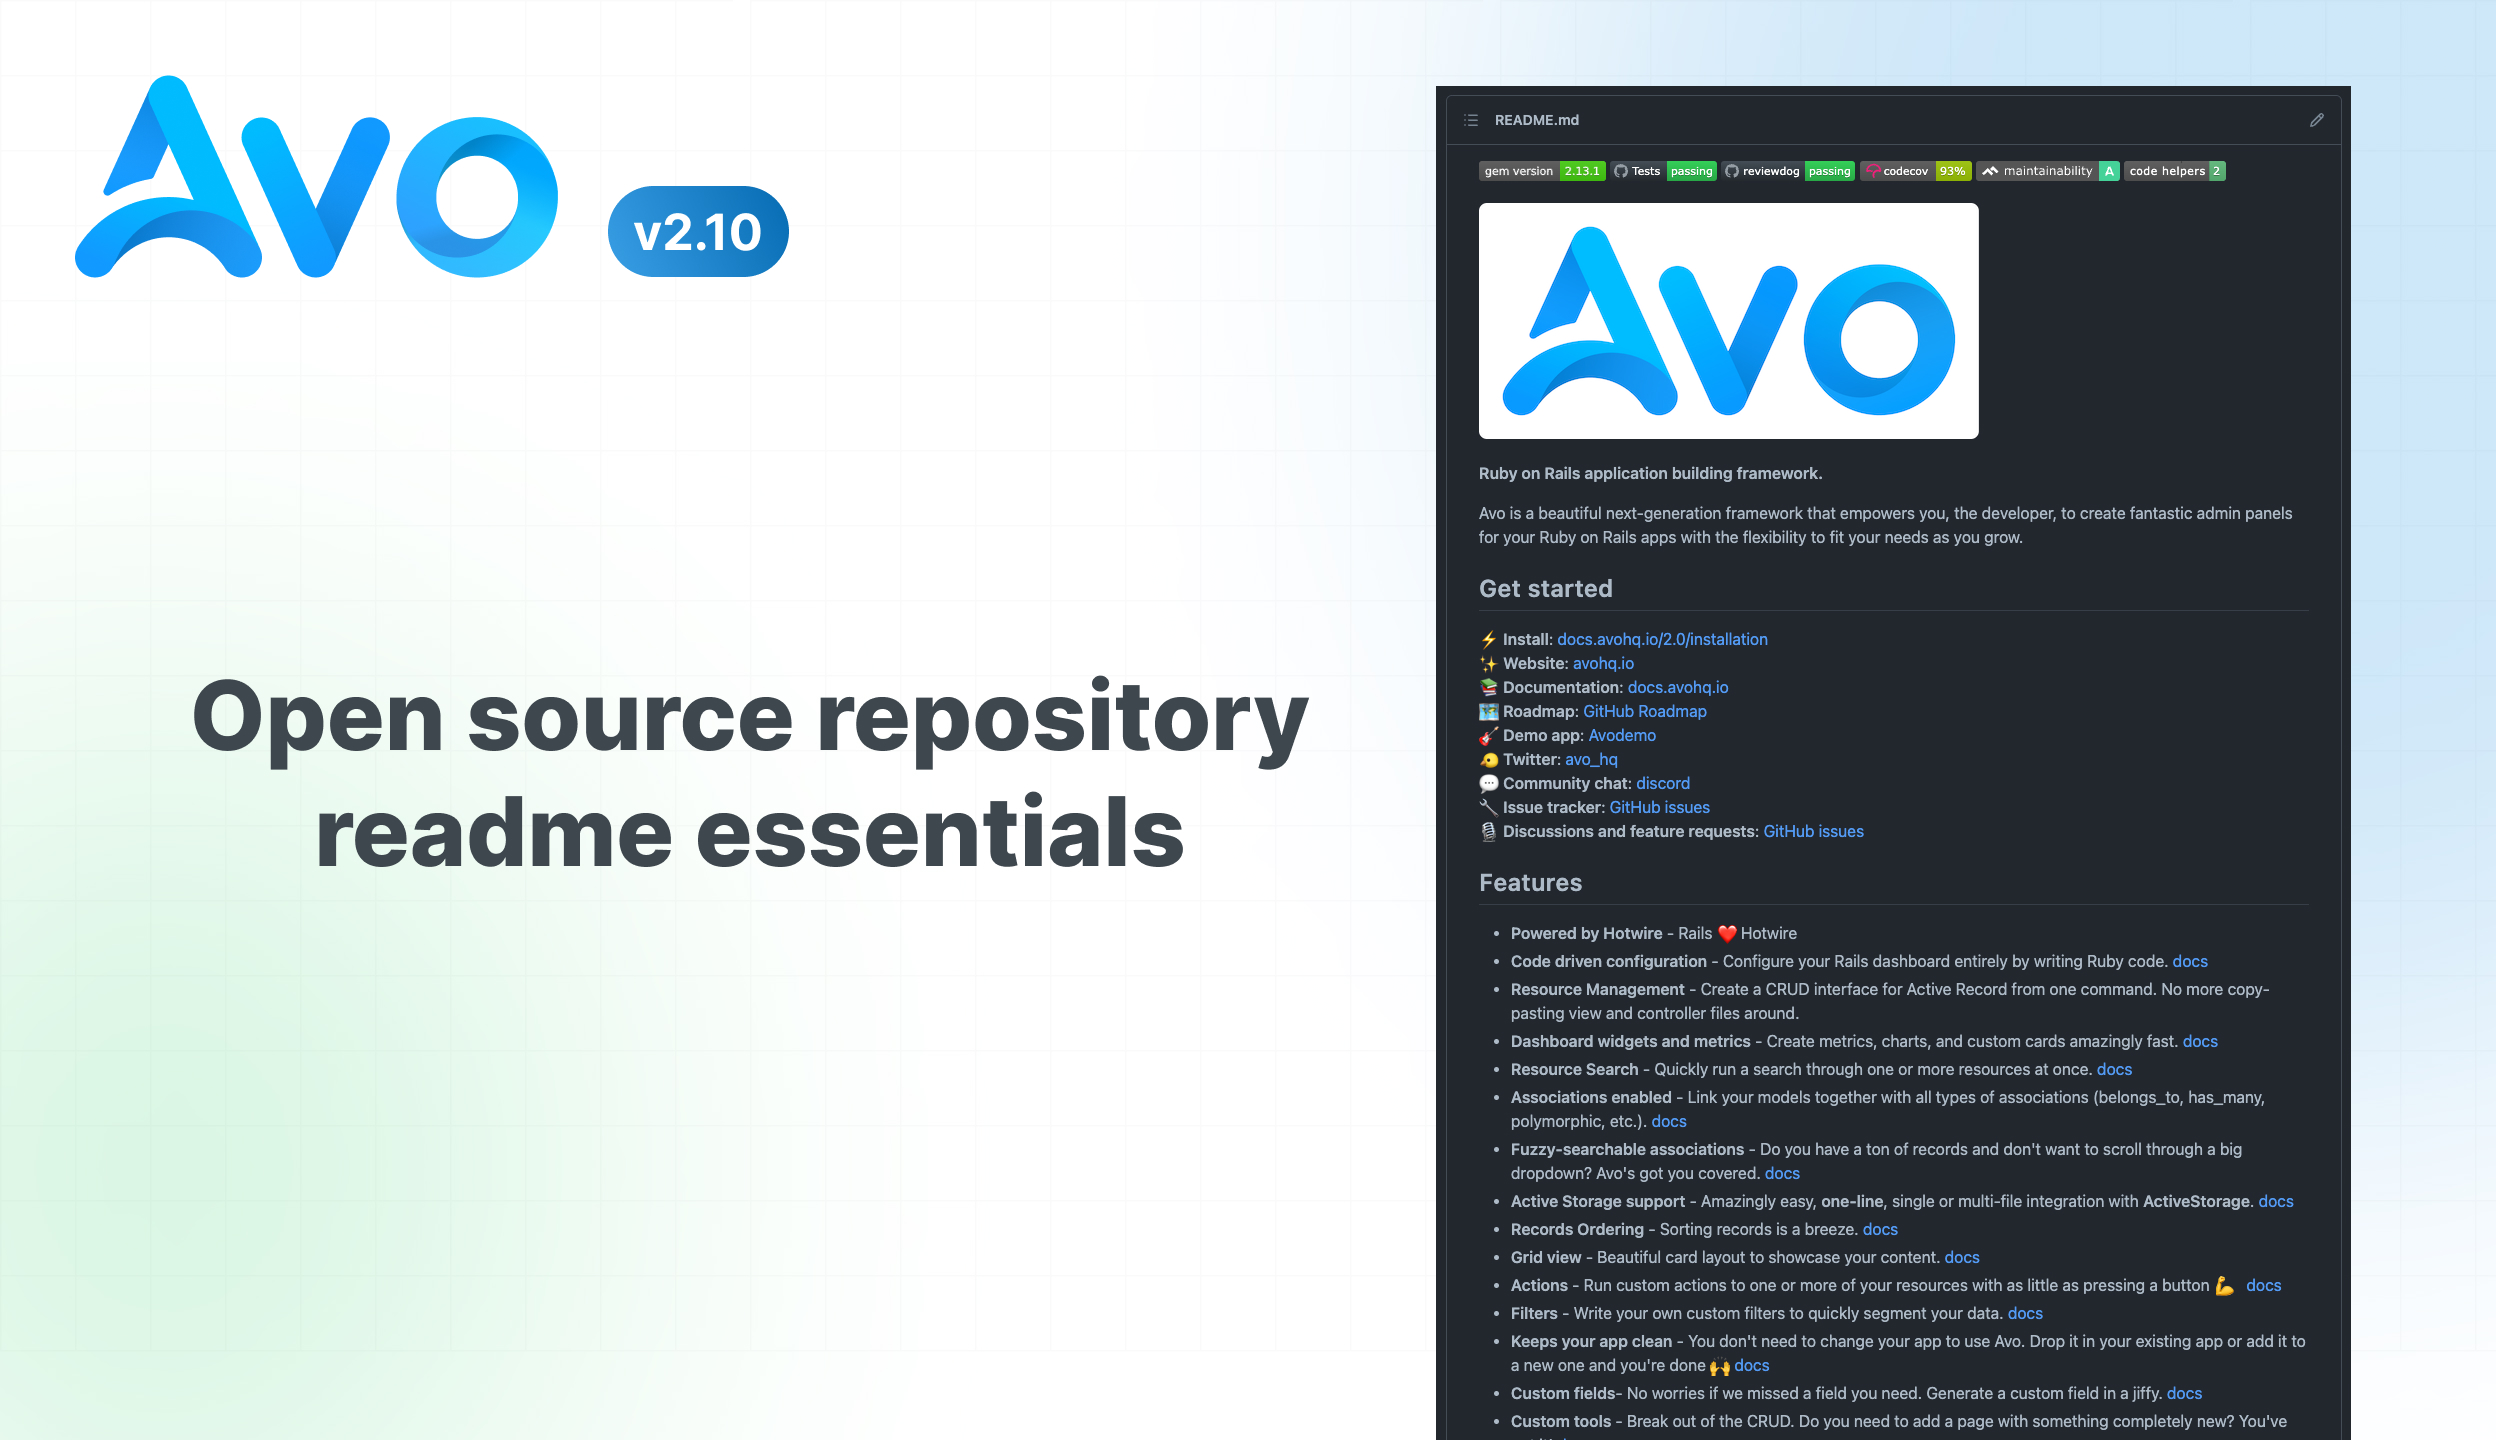
Here is Avo’s readme file.
When you hear someone asking a question about what your product does, try and think if that could be better answered in the readme file for everyone.
