Custom domains for local development in Rails can be a nice addition to our toolbox.
Trading localhost and some port number for a short and memorable domain name sounds nice, right? How about if we throw some secure connections into the mix?
In this article, we will learn how to add custom domains and SSL in Rails development, the different ways to do it and best practices.
Let's start by understanding why these features can be important:
Why custom local domains and SSL
There's nothing wrong with the traditional Rails approach of starting the server using rails server or bin/dev and navigating to localhost:3000.
But there are some cases where having a custom domain name, even for local development, can be useful:
-
Working with subdomains: route constraints can help us work with subdomains, but browser session cookies are domain-scoped. This means that
api.localhost:3001andlocalhost:3000are considered different domains, which means that cookies won't be shared between them in case we need it. - Development and production parity: having parity between development and production is generally desirable. Of course, SSL is just one part of the equation, but it can help us discover issues before our customers do. Things like CORS or secure cookies are better tested with custom and secure local domains.
- Service workers and PWA features: because service workers can only be registered over a secure connection, having local HTTPS can be helpful to test them and make sure they work before deploying them to production.
- Multiple apps at the same time: sometimes, we need to have many apps running at the same time. This is especially true if we are building an API with Rails and a frontend app using a JS framework. Assigning custom domains or subdomains to these apps can reduce the number of ports to keep in mind.
Doing things manually
Before jumping into tools that make our life easier, let's get our hands dirty and learn how everything works behind the scenes.
Generally, to define custom local domains with Rails, we need a way to relate requests made to our chosen domain into our Rails application and a way to generate an SSL certificate that secures the connection.
Let's start by exploring custom local domains by editing the hosts file:
Editing the hosts file
There are many ways to achieve the first; however, the easiest is to edit the /etc/hosts file and add the domain in there.
Let's add the domainer.test domain and have it resolve to localhost (127.0.0.1).
If we run cat /etc/hosts we should see something like this:
##
# Host Database
#
# localhost is used to configure the loopback interface
# when the system is booting.  Do not change this entry.
##
127.0.0.1       localhost
255.255.255.255 broadcasthost
::1             localhost
Let's add a definition for our custom domain by running sudo vim /etc/hosts and adding the following line at the bottom of the file:
127.0.0.1 domainer.test
Now, if we ping our host ping domainer.test, we should see something like
PING domainer.test (127.0.0.1): 56 data bytes
This means that the requests are going to our desired IP address.
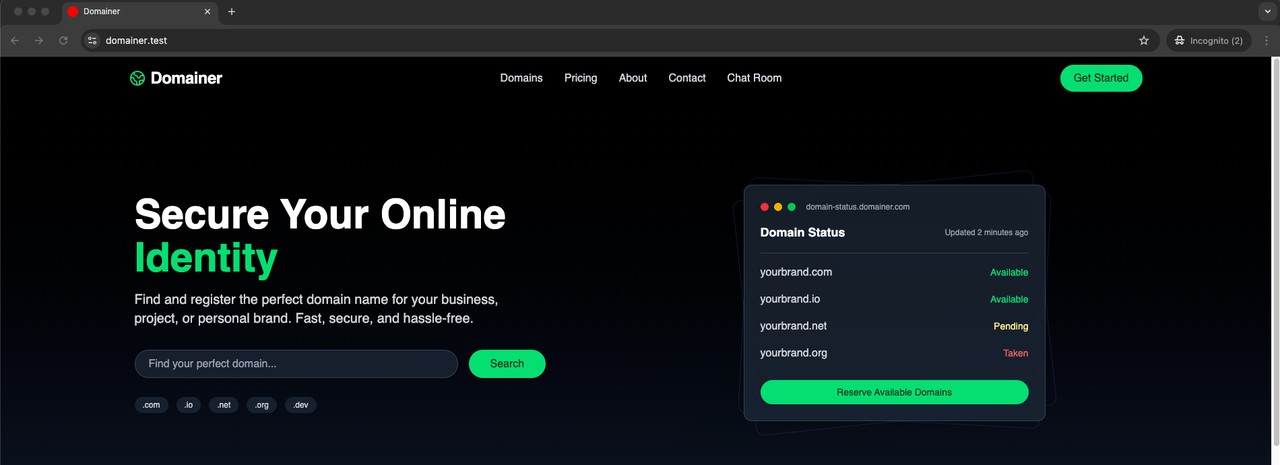
If we have a Rails server running, and we visit domainer.test:3000 we should see our application running just like we do normally with localhost:3000:
However, we want to access the domain without the need of appending the ports. We can achieve that by setting up a reverse proxy with nginx or Caddy. Let's see both ways of doing it:
Reverse proxy with nginx
Before anything, make sure you have nginx installed on your local machine. Otherwise, follow these installation instructions to properly install it on your machine.
Since I'm using macOS with nginx installed via Homebrew, I'll configure the site by adding it to /opt/homebrew/etc/nginx/servers:
server {
  listen 80;
  server_name domainer.test;

  location / {
    proxy_pass http://localhost:3000;
    proxy_set_header Host $host;
    proxy_set_header X-Real-IP $remote_addr;
    proxy_set_header X-Forwarded-For $proxy_add_x_forwarded_for;
    proxy_set_header X-Forwarded-Proto $scheme;
  }
}
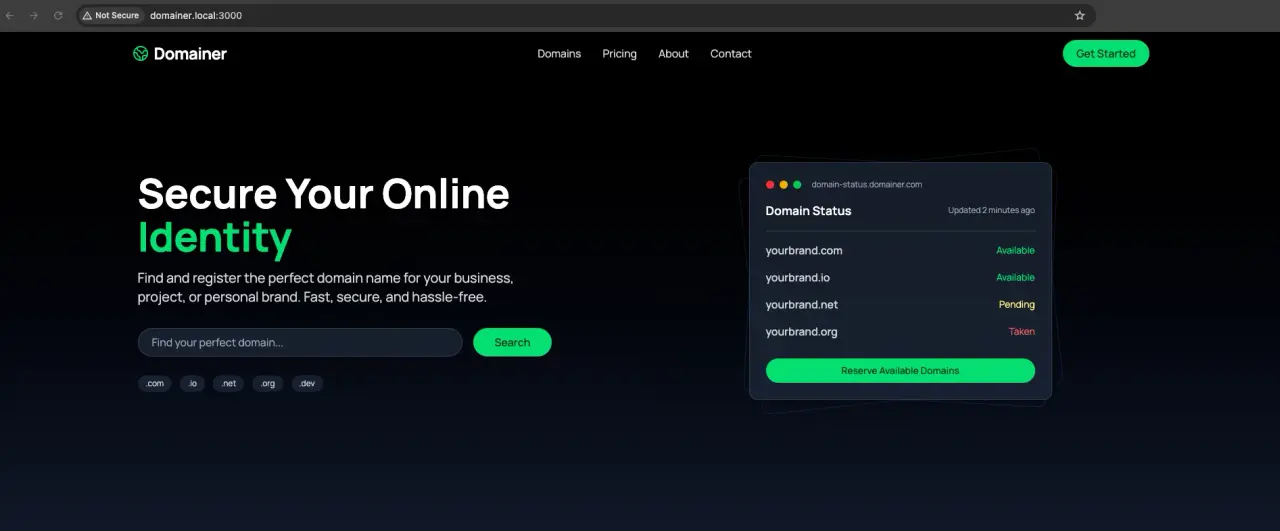
Then, we run the nginx service using brew services start nginx, and when we access http://domainer.test we should see our landing page with the “Not secure” browser alert:
To solve this issue, let's generate an SSL certificate for our domain using mkcert, a tool for making locally trusted certificates intended for development.
Run the following command:
mkdir ~/.ssl && cd ~/.ssl && mkcert domainer.test
This will generate a domainer.test.pem certificate and a domainer.test-key.pem key, storing it in the .ssl folder of the home directory, but you can place them elsewhere if you need it.
Now, to add SSL we have to make our nginx server listen on the 443 port instead and redirect HTTP requests to HTTPS:
server {
  listen 443 ssl;
  server_name domainer.test;

  ssl_certificate /Users/erozas/.ssl/domainer.test.pem;
  ssl_certificate_key /Users/erozas/.ssl/domainer.test-key.pem;

  location / {
    proxy_pass http://localhost:3000;
    proxy_set_header Host $host;
    proxy_set_header X-Real-IP $remote_addr;
    proxy_set_header X-Forwarded-For $proxy_add_x_forwarded_for;
    proxy_set_header X-Forwarded-Proto $scheme;
  }
}

server {
  listen 80;
  server_name domainer.test;
  return 301 https://$host$request_uri;
}
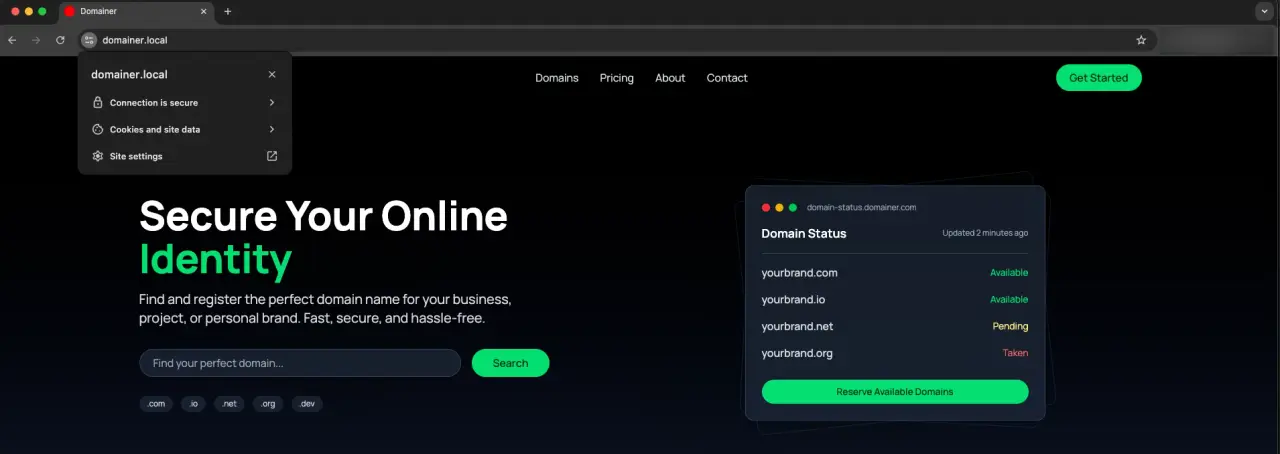
Now, we restart nginx using brew services restart nginx, navigate to https://domainer.test and we should see our landing page without any security alert:
Reverse proxy with Caddy
Caddy is an application server written in Go that offers automatic SSL certificate management. It's simpler than nginx and can be configured using JSON or a Caddyfile.
The first step is to make sure we have Caddy installed. Check the installation instructions for your operating system and make sure you have access to the caddy command.
To avoid any conflicts with the nginx configuration, we will use the domainer.dev domain.
Let's start by adding it to our etc/hosts file:
127.0.0.1 domainer.dev
Now, from our Rails app directory, we create a Caddyfile and add the following:
domainer.dev {
  tls internal
  reverse_proxy localhost:3000
}
Then, we can run Caddy by adding it to our Procfile.dev file:
web: env RUBY_DEBUG_OPEN=true bin/rails server
js: yarn build --watch
css: bun run build:css --watch
caddy: caddy run
Now, we make sure to stop nginx to avoid any mix-up from the previous step and run bin/dev and we should be able to access our application using the domainer.dev domain:
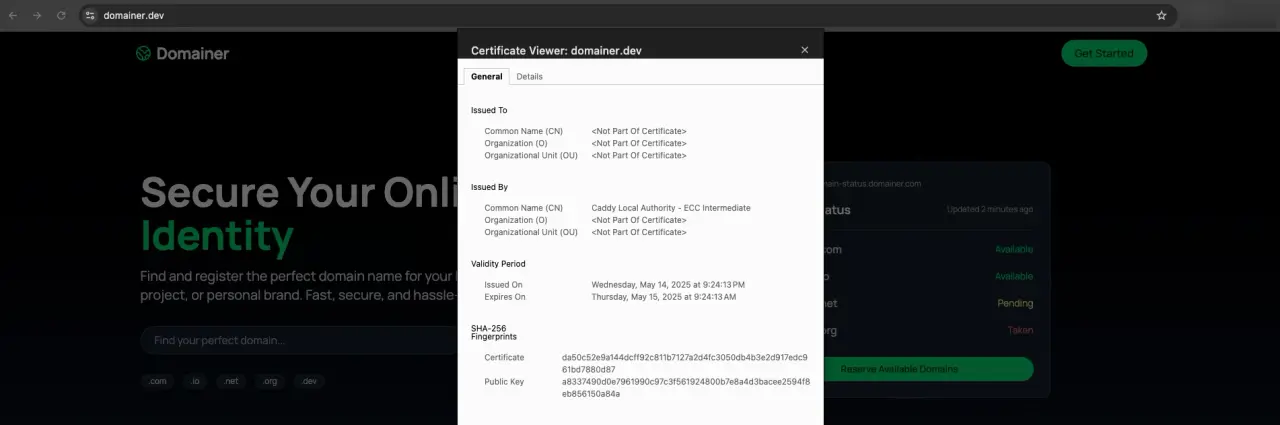
As you can see, the certificate here is issued by “Caddy Local Authority” and everything was automatically handled by Caddy without having to do anything beyond the configuration we saw before.
Now that we've done things manually using the hosts file, nginx and Caddy, let's see how to approach this issue with the puma-dev library:
Using the puma-dev gem
Now that we've learned how to work with custom local domains manually, let's learn about the puma-dev gem, a library that runs on top of Puma and gives us HTTPS and the ability to run custom domains like .test and .puma.
We have to make sure we have the gem installed in our system. As I'm using macOS, I will install it using Homebrew:
brew install puma/puma/puma-dev
Having the puma gem as a dependency is also a requirement:
gem "puma", ">= 5.0"
Now, to install the gem and set it up, we need to run the following command:
sudo puma-dev -setup
This command runs the following:
* Configuring /etc/resolver to be owned by erozas
* Changing '/etc/resolver/test' to be owned by erozas
This produces the following configuration in the /etc/resolver/test file:
# Generated by puma-dev
nameserver 127.0.0.1
port 9253
Unlike the /etc/hosts/ which maps specific domains to IP addresses, the /etc/resolver files tell the system which nameserver to use for entire TLDs. This is why puma-dev can handle any .test domain dynamically. The /etc/hosts requires an explicit entry for each domain.
Consider that the first time we run the puma-dev command, we will likely encounter a dialog asking for our password. This happens because puma-dev generates its CA certification that's stored in ~/Library/Application Support/io.puma.dev/cert.pem.
This CA is then used to sign individual certificates for each domain, which is why your browsers trust them.
Next, we run the following to have puma-dev run in the background locally on ports 80 and 443:
puma-dev -install
Now, after we have everything setup, we can go to our application folder and run the following command:
puma-dev link
Because our application is called domainer and located in the directory with the same name, we can now go to https://domainer.test and we should get the app running:
Notice that we didn't have to run the rails server or the bin/dev commands to have our application running. That's because puma-dev works in the background.
Puma-dev works by monitoring the ~/.puma-dev directory for symbolic links. Each of the symlink's names becomes a subdomain under .test and the symlink tells puma-dev which application to start when the domain is accessed.
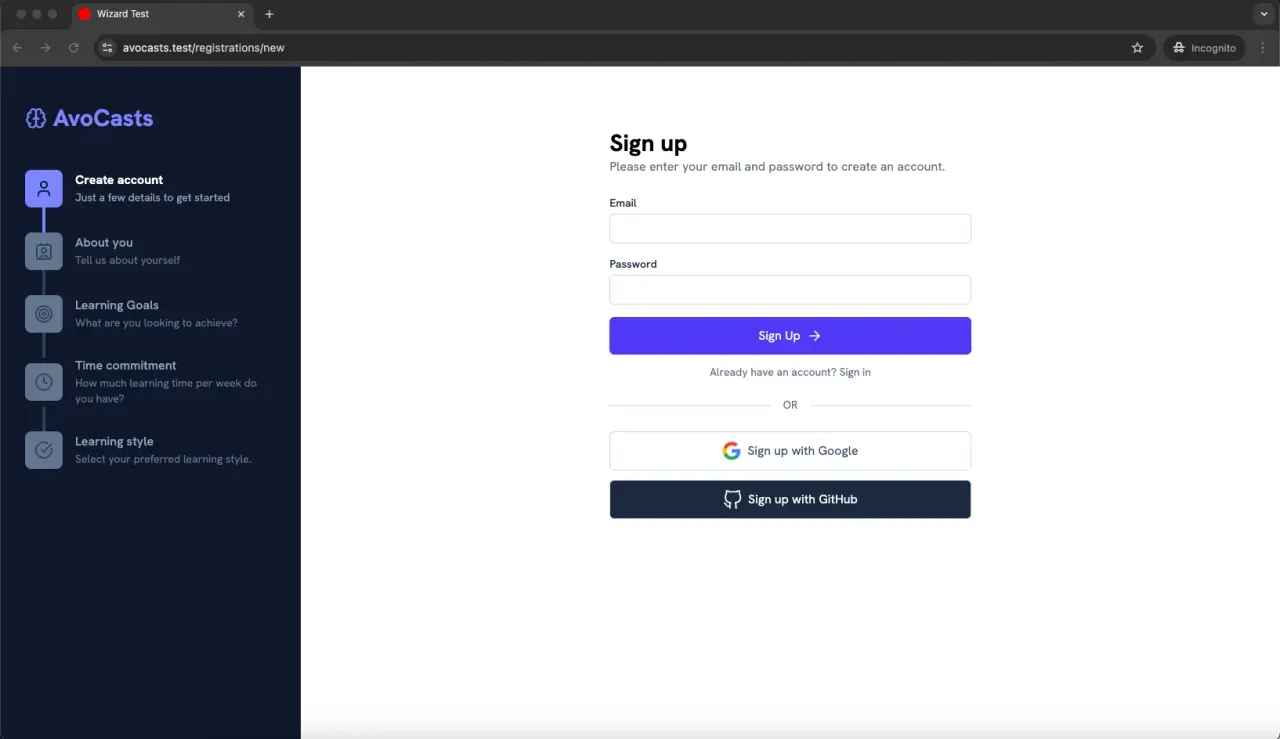
To prove this, let's go to the ~/.puma-dev directory and manually add a symlink with a random domain name to the AvoCasts app directory, the application we used for the multistep-forms with Rails article.
When we visit that random name we gave to the symlink, we should get the application running without doing anything else:
ln -s ~/Code/rails/avo/content-apps/wizard_test ~/.puma-dev/avocasts
As you can see, the actual application name is WizardTest but I'm making a symbolic link inside the .puma-dev directory so now, I should be able to access avocasts.test:
Things to consider
Because the workflow using puma-dev is significantly different from what we're used to with the rails server command, there are some things to consider:
Background service
When we run puma-dev -install command, the service is added to the macOS login items:
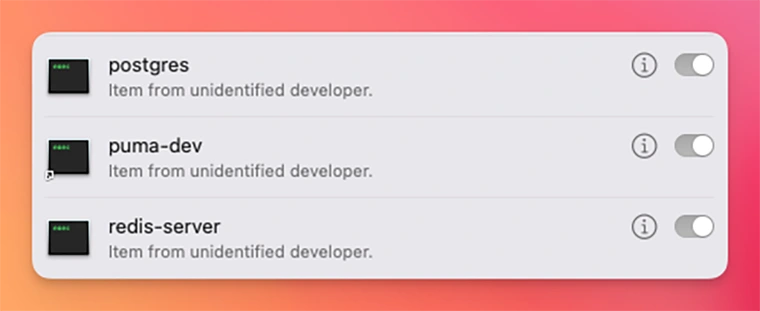
This means that it runs in the background and starts every time we restart our computer. If you find that to be an annoyance, you can remove it by going to System Settings ⇾ General ⇾ Login Items, searching for pumadev and toggling the switch.
Certificates
If, for some reason, you didn't accept the dialog to trust the puma-dev root Certificate Authority, you can find it in the Keychain Access section of Utilities.
In there, we can search for puma and we should see something similar to this:
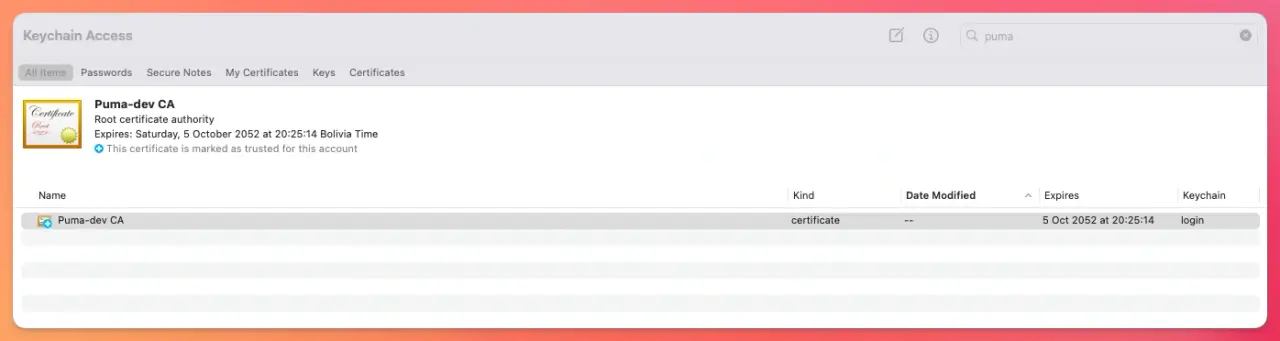
Then, after double-clicking the certificate, we should be able to toggle the trust configuration to “Always Trust”.
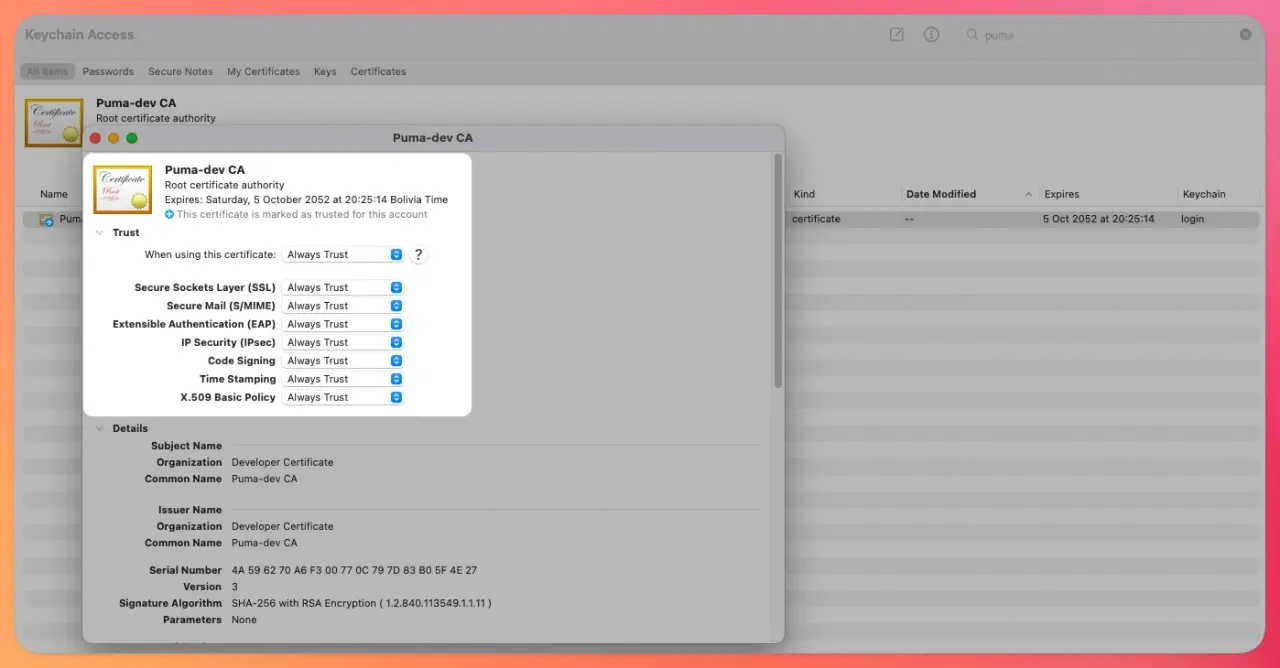
After doing this, we should be able to access our local domains using HTTPS.
Application logs
If you want to check the application logs, you will have to run the following command inside the app's directory:
tail -f log/development.log
Because the gem does everything behind the scenes to run our application, a terminal tab running this command replaces the usual rails s tab.
Besides the application logs, the gem itself produces logs that we can output to the console by running:
tail -f ~/Library/Logs/puma-dev.log
Consider that these logs are library related, so they're useful to debug issues with it but not the application itself.
Restarting the app
There are a couple of ways to restart our application whenever we need it.
The first is to run the restart command:
bin/rails restart
Which is the same as running:
touch tmp/restart.txt
The other way to restart is to run:
puma-dev -stop
And then visiting the local domain to restart the process.
Note that this command doesn't stop the service in the traditional way. If we want to do that, we can run the following command on macOS:
pkill -USR1 puma-dev
Choosing an approach
Now that we've seen both ways of adding custom subdomains to a Rails app, let's see when to use each approach.
Use the manual configuration when:
- You require specific custom or vanity domains, not just
.test. - You're working with non-Rails apps.
- You need fine-grained control over the proxy settings.
- You're setting a shared development environment.
On the other hand, it's probably better to use puma-dev when:
- Working primarily with Rails applications.
- You would rather not deal with configuration or customization.
- You switch between multiple projects.
Summary
Working with custom local domains in Rails can be a nice addition to our tool belt, especially if we add SSL to the mix.
Whether your application uses subdomains, interacts with DNS records or implements service workers, having custom domains and HTTPS locally can be an advantage.
We explored how to add custom domains manually by:
- Editing the hosts file to map our custom domains to
127.0.0.1 (localhost). - Setting up a reverse proxy with nginx and adding SSL certificates using mkcert.
- Using Caddy to achieve the same result with minimal configuration and automatic certificate handling.
Then, we used the puma-dev library to achieve the same results in Rails projects, but quicker and without having to configure anything beyond installing the library and running a couple of commands.
The manual approach is a good way to understand how things work and also be able to use any domain we want.
On the other hand, using puma-dev is easier, but it has some limitations related to the domains we can use and the ability to freely access our application logs or restart the server as we see fit.
After installing it, to use puma-dev with a given project, we just have to run the following command inside our application's directory:
puma-dev link
This generates a symlink inside ~/.puma-dev to our application directory, and after doing that, puma-dev takes over and handles the request.
If we want to restart the application, we can run bin/rails restart on the application directory or puma-dev -stop and then visit our custom domain.
If you're working with multiple developers, and you want to streamline the process, consider including a script that automates the process when setting the application up.
I hope you enjoyed this article and that it helped you implement custom domains with a secure connection for your project.
Oh, and don't forget that if you edited the hosts file, it can interfere with your navigation. DNS bugs are usually not fun!
Have a good one and happy coding!
