Markdown is an excellent choice to write rich content because it's portable, format-free and, generally, more efficient than the alternatives.
However, one of the issues that usually comes with the standard Markdown editors is image handling.
Most of them let us “import” images by pasting the URL into a markdown image tag, but that can get annoying over time.
In this tutorial, we will build an image upload feature into the EasyMDE editor using Rails and Active Storage.
Let's start:
What we will build
For this tutorial, we will build a simple blog with a textarea form that will be able to handle the blog's content.
To enhance this form, we will add an image upload feature using Easy MDE's built-in capabilities and a Stimulus controller to make direct uploads with Active Storage work and also show a way to have regular and more customizable uploads in case you want to.
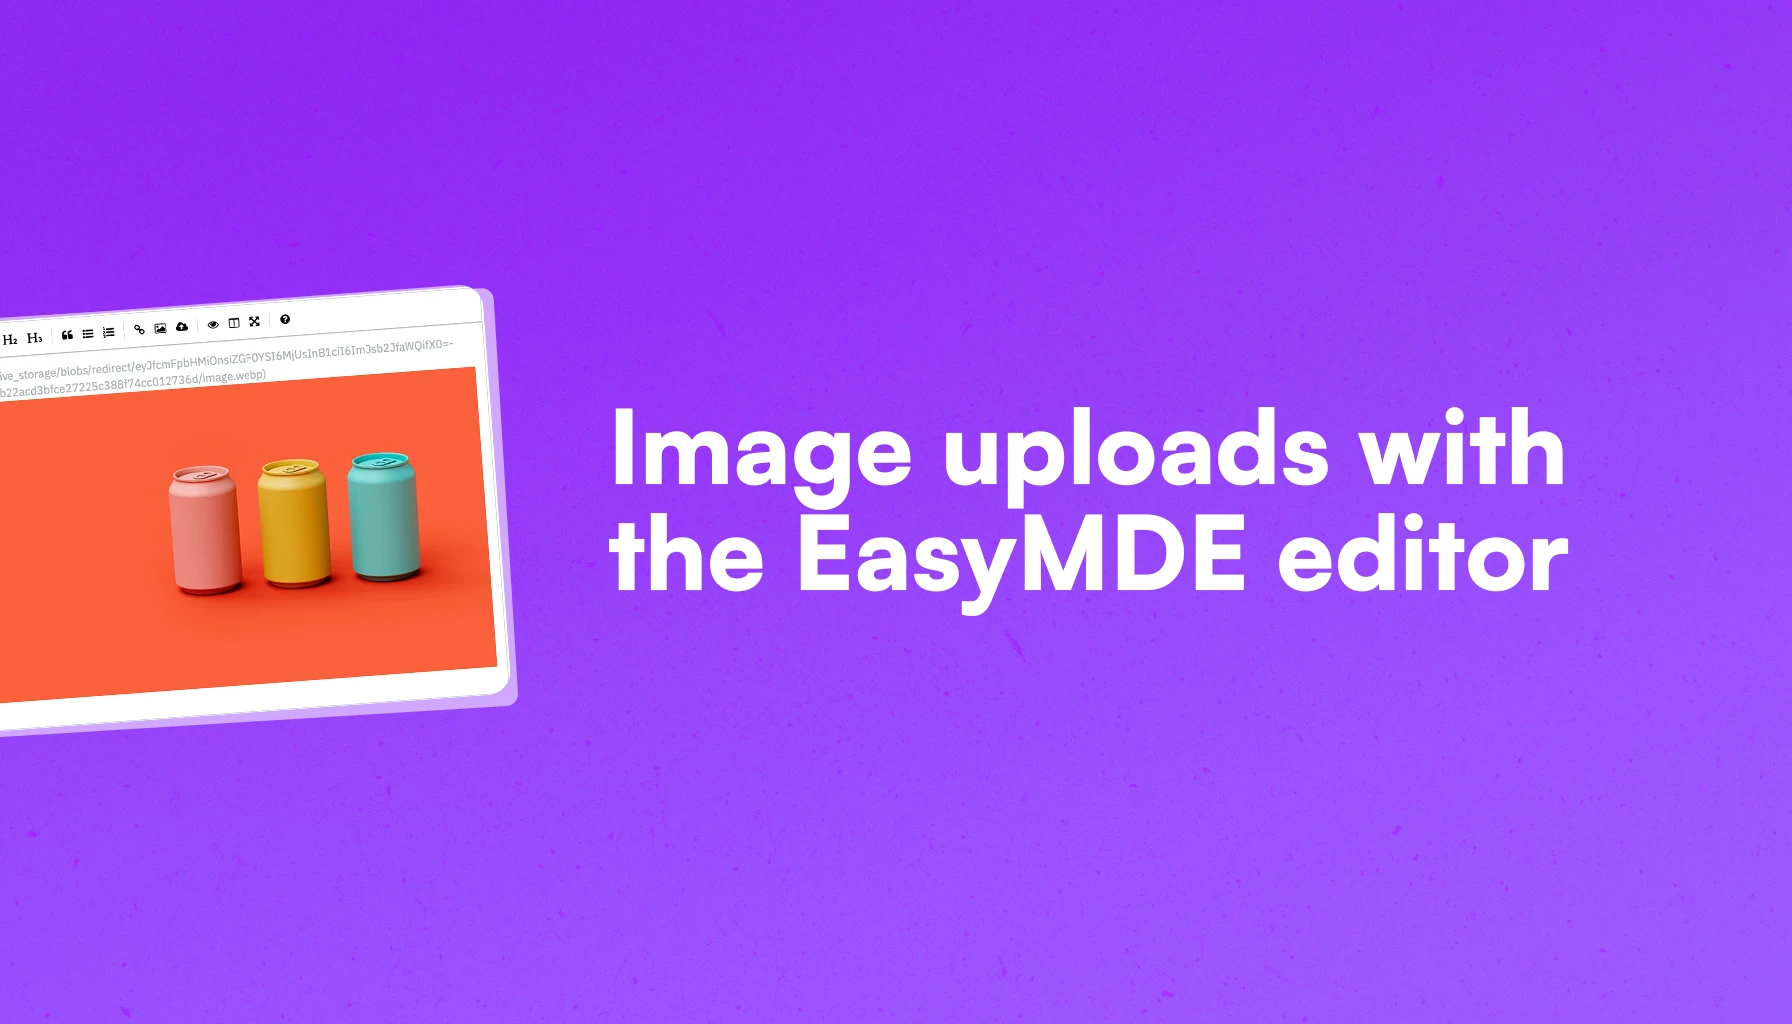
The result should look something like this:
We will be hooking into EasyMDE's image upload features to make this work.
The Rails app
The first step is to create a Rails app with some sensible defaults:
rails new easymde-uploads --css=tailwind --database=postgresql -j esbuild
Then we run the Active Storage setup process and db migrations:
bin/rails db:setup
bin/rails active_storage:install
bin/rails db:migrate
After this, we create a scaffolded Post model, which we will use for this tutorial. We just need for it to have a content field:
bin/rails generate scaffold Post title excerpt content:text
When we run this, we now have routes, controller actions, and views that we can use to CRUD the Post resource, but we will be focusing exclusively on creating a new Post.
After some styling customization, we now should have a form with a content textarea:

Then, we add EasyMDE. I'm using ESBuild and adding it with yarn, but you can add it using import maps if you prefer it.
yarn add easymde
After adding the EasyMDE editor, we can join this altogether by adding a Stimulus controller in charge of rendering the editor:
// app/javascript/controllers/easy_mde_controller.js
import { Controller } from "@hotwired/stimulus";
import EasyMDE from "easymde";

export default class extends Controller {
  connect() {
    this.editor = new EasyMDE(this.element);
  }
}
<%= f.text_area :content, data: {controller: "easy-mde"} %>
Now, the textarea becomes an instance of the editor:

So now we're ready to handle the uploads, let's go:
Further reading
GitHub Flavored Markdown in Rails with CommonmarkerUploading images
The EasyMDE editor is pretty configurable, and it actually comes with image uploading features out of the box that can be enabled by setting the uploadImage option to true.
After we do this, we can configure the following options:
-
imageUploadEndpoint: we have to provide an endpoint that will receive the POST request containing the image. To make it work, we need to adhere to the following contract: if the upload was successful, the endpoint should return
{"data": {"filePath": "path-to-file"}}otherwise, we need to return{"error": "errorCode"}where errorCode can benoFileGiven(HTTP 400 Bad Request),typeNotAllowed(HTTP 415 Unsupported Media Type),fileTooLarge(HTTP 413 Payload Too Large), orimportError. - imageCSRFName: the name used by our backend to identify the CSRF token. In our case, it's authenticity_token.
- imageCSRFToken: the actual token returned by Rails obtained from the DOM.
- imageAccept: a string containing a comma-separated list of the accepted MIME types: “image/jpeg image/jpg image/webp image/png”.
- imageMaxSize: the maximum allowed size for each uploaded image, expressed in bytes. By default, it's set to accept images up to 2 MB.
-
imageUploadFunction: it receives a custom function we create to customize the upload behavior in case we need to. The function receives three arguments: file which is the file itself, and two callbacks, onSuccess and onError which we call whenever the uploads succeed or fail. Note: if we pass this function, the
imageMaxSize,imageUploadEndpointandimageCSRFTokenare no longer used. The documentation also states that theimageAcceptconfig is also not used, but it's still used to discriminate which files we can pick when using the picker. - previewImagesInEditor: receives a boolean and determines if images are displayed when inserted into the editor.
In case we want to customize things like the feedback text or error messages, we can do so with the imageTexts and errorMessages config options, which both accept objects.
Direct Uploads
To have our images directly uploaded to a cloud storage service, we need to use the imageUploadFunction and let ActiveStorage handle the upload process.
For the purposes of this tutorial, we will assume you have everything set to handle direct uploads. You can check our S3 uploads with Active Storage guide if you are not sure how to do it.
First, we need to install Active Storage:
yarn add @rails/activestorage
Then, we set the controller to handle direct uploads. Luckily, ActiveStorage DirectUpload class handles most of the tasks for us:
// app/javascript/controlles/easy_mde_controller.js
import { Controller } from "@hotwired/stimulus";
import EasyMDE from "easymde";
import { DirectUpload } from "@rails/activestorage";

export default class extends Controller {
  static values = { uploadUrl: String };

  connect() {
    this.editor = new EasyMDE({
      element: this.element,
      uploadImage: true,
      imageAccept: "image/png, image/jpeg, image/jpg, image/webp",
      previewImagesInEditor: true,
      imageUploadFunction: this._handleImageUpload.bind(this),
    });
  }

  disconnect() {
    this.editor = null;
    this.element.toTextArea();
  }

  _handleImageUpload(file, onSuccess, onError) {
    const upload = new DirectUpload(file, this.uploadUrl);
    upload.create((error, blob) => {
      if (error) return onError(error);
      const imageUrl = this._encodedImageUrl(blob);
      onSuccess(imageUrl);
    });
  }

  _encodedImageUrl(blob) {
    return `/rails/active_storage/blobs/redirect/${
      blob.signed_id
    }/${encodeURIComponent(blob.filename)}`;
  }

  get uploadUrl() {
    return this.uploadUrlValue;
  }
}
Here we create a custom _handleImageUpload method that creates an instance of the DirectUpload class, which has a create method that receives a callback that can either receive an error or a blob which represents the uploaded file.
If we have an error, we return the EasyMDE's onError method; otherwise, we create an encoded URL for the image, which is actually a redirect to the actual resource location on the cloud storage.
In order for the controller to work correctly, we have to provide the uploadUrl in the markup:
<%= f.textarea :content, data: {controller: "easy-mde", easy_mde_upload_url_value: rails_direct_uploads_url} %>
After adding this, direct image uploads should work, and after being uploaded, they should also be inserted as Markdown at the current cursor position in the editor.
Thankfully, Active Storage handles almost all the work for us, but you might want to customize the upload experience or do extra things when uploading images with EasyMDE; that's why we can also build a more customized upload experience.
Let's see how we can do that:
Custom uploads
We can add our upload logic for scenarios where direct uploads are not enough.
Maybe we want to authorize the uploads or persist them to the database to process them later.
To achieve this with EasyMDE we can use the library's upload logic by providing an imageUploadEndpoint with the parameters explained at the beginning of this section to make it work.
However, I prefer the upload flow explicitly defined in the controller because it's easier to debug.
The first thing we need to do is define a route that we will pass to the controller:
# config/routes.rb
post "image_uploads", to: "image_uploads#create", as: :image_uploads
// app/javascript/controllers/easy_mde_controller.js
import { Controller } from "@hotwired/stimulus";
import EasyMDE from "easymde";

export default class extends Controller {
  static values = { uploadUrl: String };

  connect() {
    this.editor = new EasyMDE({
      element: this.element,
      uploadImage: true,
      imageAccept: "image/png, image/jpeg, image/jpg, image/webp",
      previewImagesInEditor: true,
      imageUploadFunction: this._handleImageUpload.bind(this),
    });
  }

  disconnect() {
    this.editor = null;
    this.element.toTextArea();
  }

  _handleImageUpload(file, onSuccess, onError) {
    const formData = new FormData();
    formData.append("file", file);

    fetch(this.uploadUrlValue, {
      method: "POST",
      body: formData,
      headers: {
        "X-CSRF-Token": this.csrfToken,
        Accept: "application/json"
      }
    }).then((response) => response.json())
      .then((data) => {
        onSuccess(data.url);
      }).catch((error) => {
        onError(error);
      })
  }

  get csrfToken() {
    return document.querySelector('meta[name="csrf-token"]').content;
  }
}
Then, in our Rails controller:
class ImageUploadsController < ApplicationController
  before_action :authenticate_user!

  def create
    if params[:file].blank?
      return render json: { error: "noFileGiven" }, status: :unprocessable_entity
    end

    if !valid_content_type?
      return render json: { error: "typeNotAllowed" }, status: :unprocessable_entity
    end

    if params[:file].size > 2.megabytes
      return render json: { error: "fileTooLarge" }, status: :unprocessable_entity
    end

    blob = ActiveStorage::Blob.create_and_upload!(
      io: params[:file],
      filename: params[:file].original_filename,
      content_type: params[:file].content_type,
    )

    if blob.persisted?
      render json: { url: rails_blob_url(blob) }
    else
      render json: { error: "importError" }, status: :unprocessable_entity
    end
  end

  private

  def image_upload_params
    params.permit(:file)
  end

  def valid_content_type?
    allowed_content_types = %w[image/jpeg image/jpg image/png image/webp]
    allowed_content_types.include?(params[:file].content_type)
  end
end
For this example, we're not doing anything particularly special, we're actually just making a POST request to our endpoint and handling the file upload using the ActiveStorage::Blog.create_and_upload! method.
In the controller, we added some basic validations that return the errors EasyMDE expects. Consider refactoring this because the controller clearly has too many responsibilities.
The URL we return is also a redirect to the actual resource, just like in the direct uploads example.
As you can see, as long as you return a URL or an error message, you can customize the flow as you see fit.
Summary
In this tutorial, we learned how to upload images using the EasyMDE Markdown editor and Active Storage.
First, we learned how to use the DirectUpload class defined by Active Storage to handle direct uploads to a cloud storage service.
Then, we also showed how to achieve the same result but uploading the files in the backend with the ActiveStorage::Blob.create_and_upload! method in case we want to add some customization to the flow.
We could make the upload feature more robust by adding CDN support to improve performance or handling edge potential edge cases.
I hope this tutorial can help you improve the Markdown writing flow in your application, allowing you or your users to write more effectively.
